Cup shape changes how much room your design has and how the milk spreads. A wide, rounded cup is the easiest surface to pour into; a tall, narrow mug is the hardest. The pattern, milk, and pitcher can stay identical and the result still changes with the cup.
If you are learning, use a wide, round-bottomed ceramic cup around 180–240 ml. Switch shapes once your pours are consistent in the easy one.
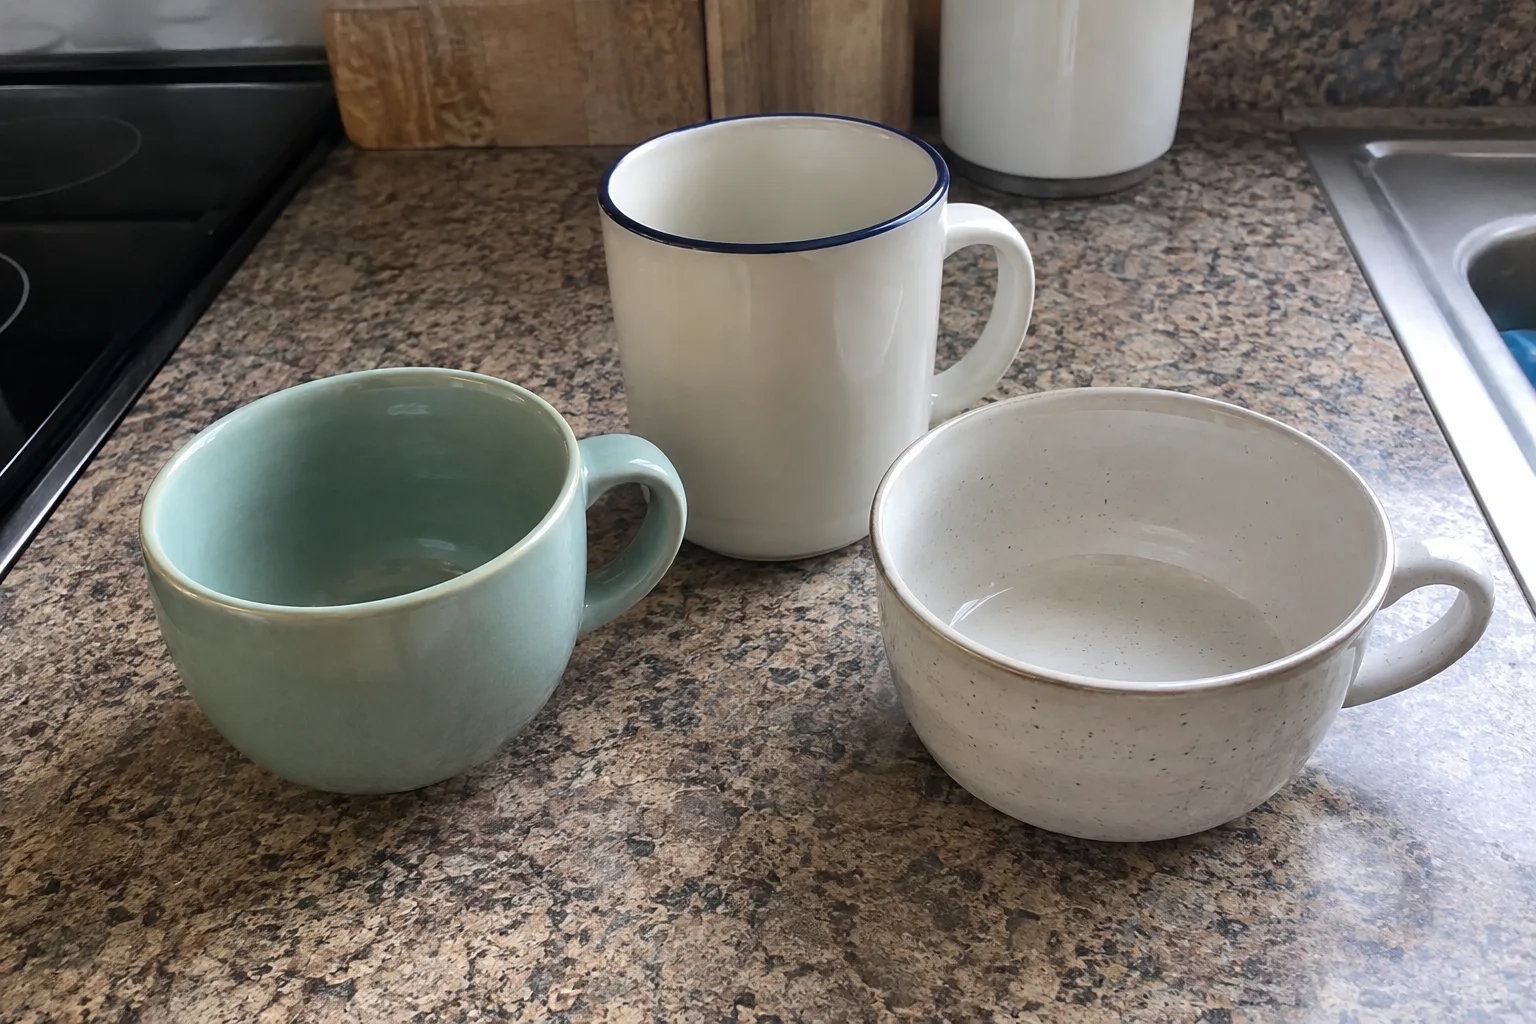
The three things cup shape controls
Surface area at the rim. The design lives on the surface. A 90 mm rim gives a rosetta room to spread; a 65 mm rim crowds it into a blob.
Wall angle. Sloped walls (bowls and tulip-shaped cups) let milk dive and resurface smoothly as you tilt and level. Straight walls make the cup fill vertically, so the surface rises fast and your window for drawing is short.
Depth of the base. Round-bottomed cups mix the first milk into the espresso evenly. Flat-bottomed mugs can leave dead spots where crema sits undisturbed and the base looks patchy.
How the same pour behaves in three cups
| Cup type | Example dimensions | What happens to the pour |
|---|---|---|
| Rounded cappuccino cup | ~200 ml, wide rim, sloped walls | Forgiving. Design has room, base mixes evenly, best for learning. |
| Straight-sided mug | ~250 ml, narrow rim, vertical walls | Surface rises quickly. Start the low pour earlier or the design stays tiny. |
| Wide shallow bowl | ~220 ml, very wide rim | Big canvas, but designs can drift and stretch. Needs a steady centre line. |
Practical adjustments by cup
Narrow mug: drop low earlier than feels right, push less milk into the pattern, and expect a smaller design. A 350 ml pitcher helps; see the pitcher size guide.
Wide bowl: watch the centre line. Big surfaces make drift visible, and symmetry problems show up faster here than in any other cup.
Glass or double-walled cups: no handle feedback and walls you cannot feel the heat through. Fine once your pours are consistent; distracting while you are still calibrating.
What does not change
Milk texture rules stay the same in every cup. Glossy, fluid microfoam pours well into anything; dry foam dumps into anything. If a pour fails in all three cups, it is the milk, not the cup — work through steaming for latte art.
A two-cup experiment
- Pour your most comfortable pattern into your usual cup, and note milk volume and timing.
- Pour the same pattern into a cup with a different shape, changing nothing else.
- Compare photos: did the design shrink, drift, or wash out?
Save both photos with the cup noted on each. In LatteArtist, adding the cup to your setup notes means you can later filter which cups your best pours came from — useful before you blame your hands.