If the art keeps turning into a blob, start with the pitcher. Good pouring technique cannot rescue milk that is dry, bubbly, or separated.
The target is microfoam that looks glossy and flows like wet paint. If you are not sure what that means yet, what microfoam actually is defines it by sight.
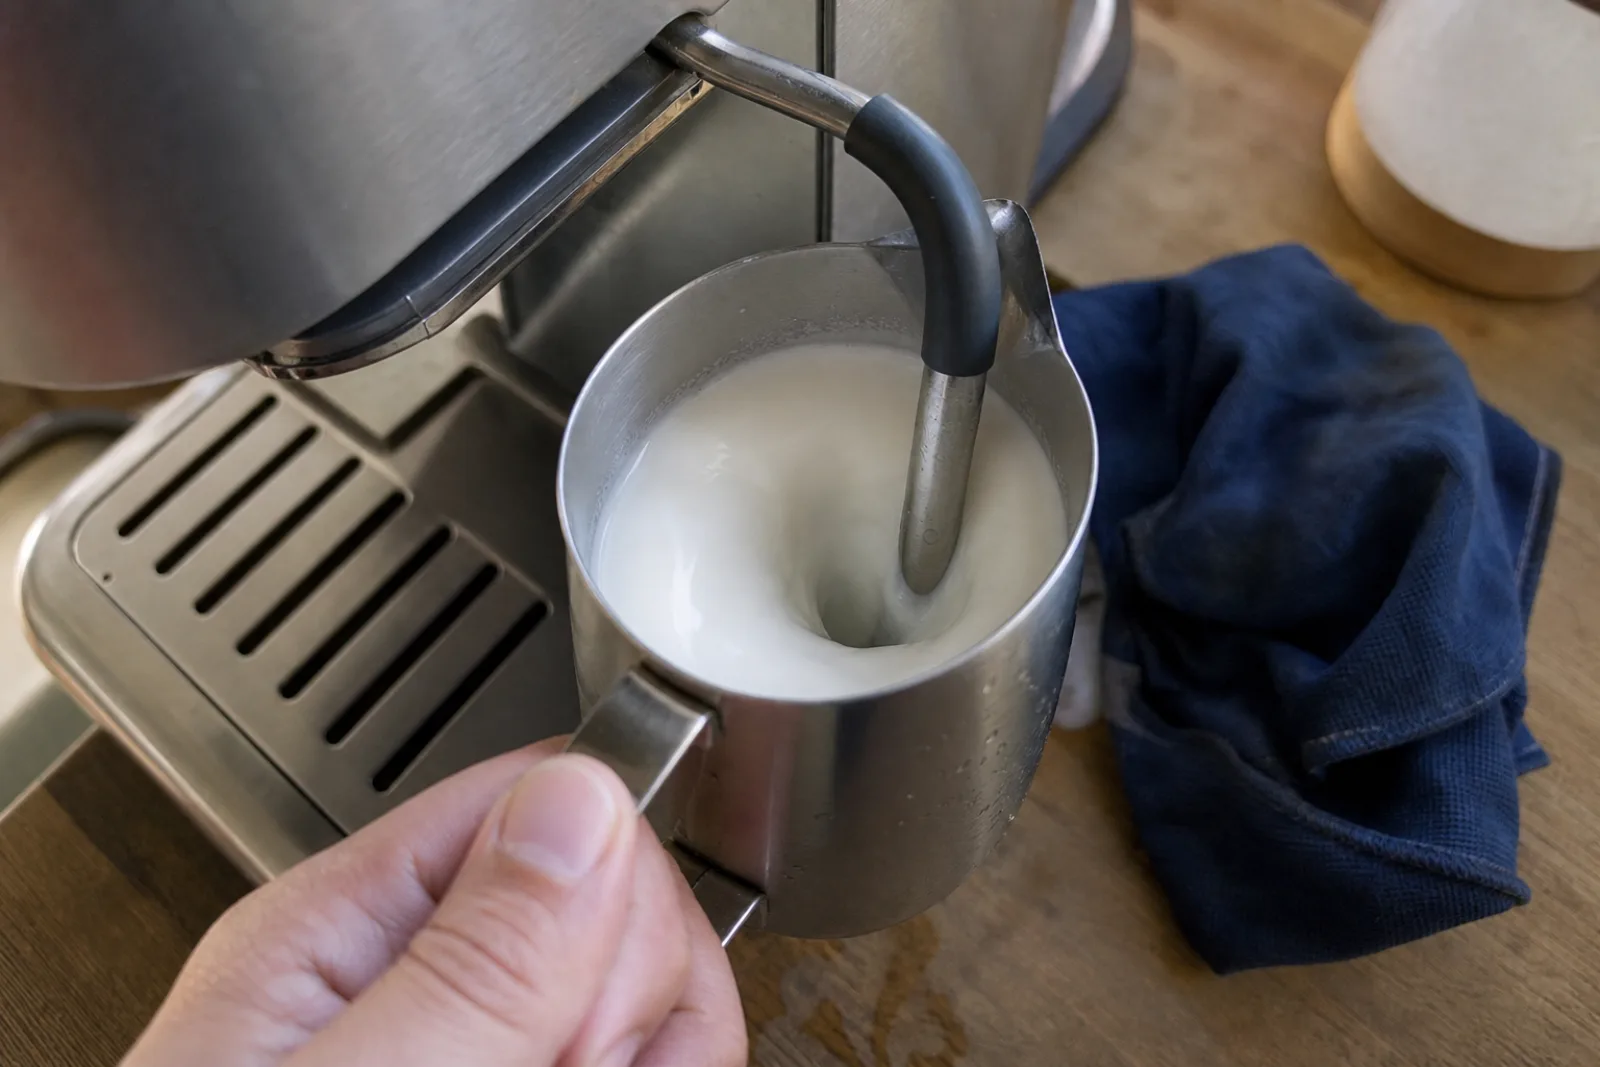
Set up
Start with cold milk and a clean pitcher. Purge the wand, place the tip near the surface, and keep a damp cloth ready so you can wipe the wand as soon as you finish. New to the motions? Rehearse the steam-wand setup dry before you use milk.
Steam power varies, so watch the milk rather than copying someone else’s timing. On entry-level machines the timing stretches out — see steaming on weaker machines.
Stretch: introduce a little air
Start by stretching the milk. Keep the steam tip close enough to the surface to pull in small amounts of air.
You want a soft paper-tearing or gentle hissing sound. Loud spluttering usually means the tip is too high and pulling in big bubbles. Silence can mean the tip is buried too deep to add texture.
Do not keep stretching for the whole steam. Too much air makes the milk stiff and gives you a dry foam cap.
Roll: get a vortex going
After you add enough air, bury the tip slightly and get the milk spinning. This is the roll, vortex, or whirlpool.
The vortex incorporates the foam into the milk and knocks down larger bubbles. You want the same texture from top to bottom—not thin milk with shaving foam sitting on it.
Keep the pitcher steady. Small wand movements can make a large difference, especially on a powerful machine.
Finish glossy, then pour
Stop before the milk loses its sheen. Dairy and alt milks behave differently, so avoid treating one exact time or temperature as universal.
After steaming:
- Wipe and purge the wand.
- Tap out only the obvious surface bubbles.
- Swirl until the milk looks glossy and incorporated.
- Pour straight away before the foam separates.
The milk should roll around the pitcher. If it moves as a stiff lump, it is too thick for clean lines — the too thick or too thin guide shows how to read and fix it.
Read the texture
| What you see | What to try next |
|---|---|
| Big bubbles | Keep the tip closer to the surface and introduce air more gently |
| Dry foam on top | Stretch for less time and spend longer on the vortex |
| Thin milk, then a foam dump | Swirl before pouring and work on incorporating the foam |
| No white design | Add a little more texture, then check your pour height |
| Glossy milk but blurry art | Keep the milk method and work on height, flow, or placement |
The finished cup can point you in a direction, but it cannot prove the cause. Change one thing and see what moves.
What about oat milk?
Alt milks vary a lot. Keep the product and amount consistent while you learn how it stretches on your machine. Some need less air; some separate faster. The oat milk guide covers the specifics.
Judge the result by the pitcher: glossy, flowing milk is more useful than chasing a universal brand or temperature rule.
A three-pour drill
- Make your usual pour and note whether the milk is thin, glossy, or stiff.
- Add slightly less air on the next one; change nothing else.
- Keep the better direction, then test the vortex in a later session.
Once the milk flows well, move to the heart guide. If it still dumps, bubbles, or disappears, use the troubleshooting guide.