Small cups are latte art on hard mode: the surface is small, the fill time is short, and every hesitation costs you room you do not have. The fix is less milk, an earlier drop, and simpler patterns.
Everything below assumes a 120–180 ml cup and a 350 ml pitcher. Those two sizes work well together; a 600 ml pitcher in a cortado glass is a fight you will lose.
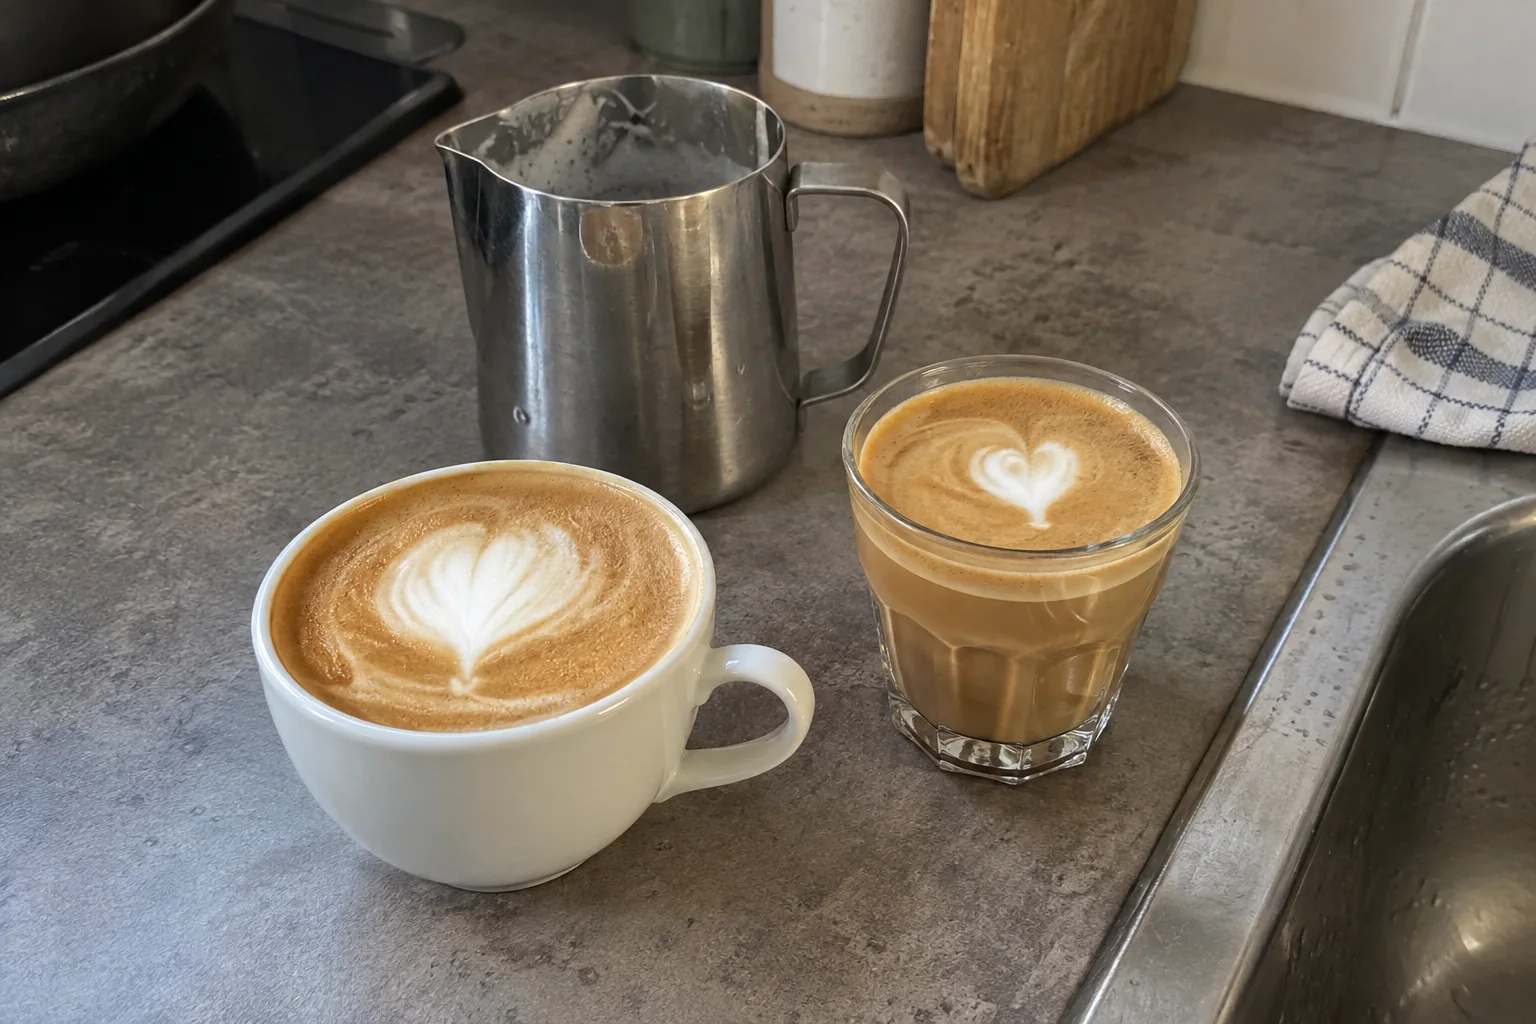
Why small cups are harder
The window is seconds shorter. A 130 ml cup fills roughly twice as fast as a 240 ml one at the same flow. The base-and-draw sequence that takes ten seconds in a latte cup takes five here.
The canvas is tiny. A design that fills a wide cappuccino cup beautifully will crowd a cortado glass into a blob. There is no room for a long rosetta stalk or a three-tier tulip.
Errors are magnified. Dropping a centimetre too high wastes proportionally more of your drawing window. A slightly heavy cut-through sinks half the design.
Adjustments that work
Steam less milk, texture it the same. For a 150 ml flat white, start with roughly 130–140 ml of cold milk. Small volumes heat fast, so shorten the stretching phase but keep the vortex; the milk still needs to be glossy and fluid, per the steaming guide. Under-stretched milk is the most common small-cup failure, because short steaming times tempt you to cut the roll short.
Drop low almost immediately. Set a minimal base, just enough to even out the crema, then get the spout down. In a cortado glass, the white should appear within two or three seconds of starting the pour.
Push gently. Less milk in motion means the design spreads faster. A flow that draws a neat circle in a big cup floods a small one.
Choose compact patterns. A single heart, a small two-tier tulip, or a short rosetta. Save the winged tulip for the big cups.
Cup and glass specifics
| Vessel | Typical size | Notes |
|---|---|---|
| Flat white cup (ceramic) | 150–180 ml | Easiest small cup: handle, sloped walls, decent rim width. |
| Cortado glass | 120–150 ml | No handle and vertical walls, so the surface rises fast. Pre-warm the glass. |
| Gibraltar / rocks glass | ~130 ml | Wide rim helps, but the thick base hides how full it is. |
Common small-cup failures
- Design overflows or smears at the rim: too much milk. Stop the pour earlier; a smaller, complete design beats a flooded one.
- White appears, then immediately runs out of room: base too big. Cut the high pour to a second or two.
- Nothing but brown: the milk was too thin (under-stretched in the rush) or the drop came too late. Steam longer, drop sooner.
A drill for small-cup timing
Pour water into your small cup from the pitcher at pouring flow, and count how many seconds it takes to fill. That number is your entire window. Knowing that number, four or six seconds, changes how you budget the base.
Log a run of flat whites with cup size and milk volume in the notes. After ten logged attempts, LatteArtist’s notes show whether timing or texture is the real limiter. In my own small-cup sessions, they pointed at texture more often than I expected.