Oat milk can pour latte art that is hard to tell apart from dairy — but only if you treat it as its own ingredient, not a drop-in swap.
Most “oat milk won’t froth” problems come down to the carton, the heat, or expecting it to behave exactly like whole milk.
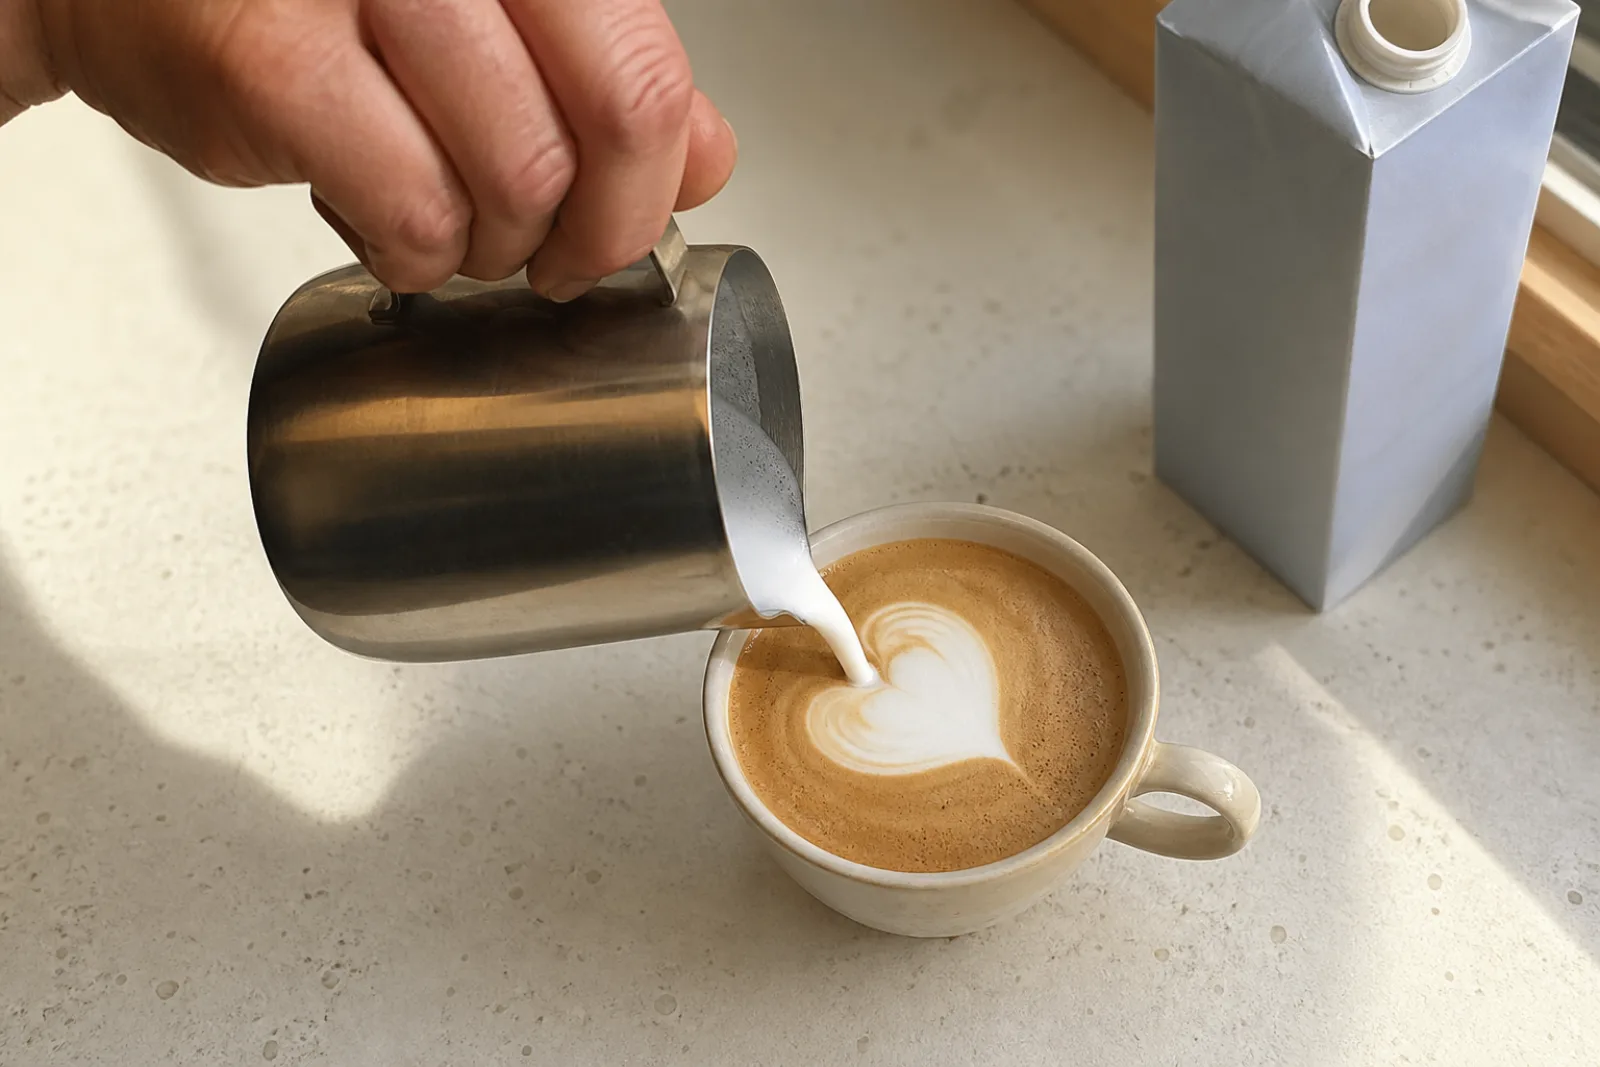
Why the carton matters more than the technique
Dairy milk foams because of its proteins. Oat milk has much less protein, so regular oat milk — the kind made for cereal and coffee — often stretches into big, fragile bubbles that pop before you finish pouring.
Barista editions are formulated for steaming: added fat and stabilisers help the milk hold a fine, glossy texture long enough to pour. If you are practising latte art with a regular oat milk and getting dish-soap bubbles, the carton is the first thing to change, not your wrist.
Different barista oat milks still behave differently from each other, so expect a short adjustment period whenever you switch brands. This is normal, not a skill problem.
Stretch less than you would with dairy
Oat milk aerates quickly and the foam it makes is less stable than dairy foam. A long stretch gives you a thick, dry cap that dumps instead of pours.
Start with roughly two-thirds of the stretching time you would use for dairy, then get the vortex going early to fold the foam in. The steaming guide covers stretch and roll in detail — the mechanics are the same, the timing is shorter.
If you are not sure whether the milk is too thick or too thin, the milk thickness guide helps you read the pitcher.
Watch the temperature
Oat milk scorches faster than dairy and loses its texture when it gets too hot. Overheated oat milk separates: thin liquid below, stiff foam on top, and a pour that comes out as a blob no matter how good the technique is.
Stop steaming a little earlier than you would with dairy. The pitcher should feel hot but not painful to hold.
Pour sooner, pour steadier
Oat microfoam separates faster than dairy microfoam once the pitcher sits still. Two habits help:
- Swirl and go. Swirl the pitcher until glossy, then pour within a few seconds. Do not leave it on the counter while you fiddle with the cup.
- Keep the flow steady. Oat milk punishes hesitation — a stop-start pour lets the foam and liquid part ways mid-stream. Commit to each movement.
Fix the oat milk pour you just made
| What showed up | Try this next |
|---|---|
| Big bubbles, soapy foam | Switch to a barista edition carton |
| Thick cap that dumps | Stretch less, roll earlier |
| White appears then vanishes | Milk overheated; stop steaming sooner |
| Foam and liquid separated | Pour sooner after swirling |
| Grainy or chalky texture | Shake the carton hard before pouring into the pitcher |
| Great texture, weak design | Same fixes as dairy: get closer, commit to the push |
A three-pour oat session
- First pour: focus only on a shorter stretch. Note how the foam looks.
- Second pour: stop steaming earlier and pour within five seconds of swirling.
- Third pour: keep both changes and work on the pattern itself.
Oat milk varies enough between cartons that notes matter more than usual. “Barista edition, short stretch, poured fast — held a heart” tells future-you exactly what worked. See the practice routine for how to log it. You can also practice without wasting coffee while the movements settle.