Microfoam is steamed milk with bubbles so small that the surface looks like wet paint: glossy, smooth and free of visible foam.
That is the definition. Latte art relies on it because the white lines in a design are fine-textured milk sitting on the crema. Foam with visible bubbles will not behave the same way.
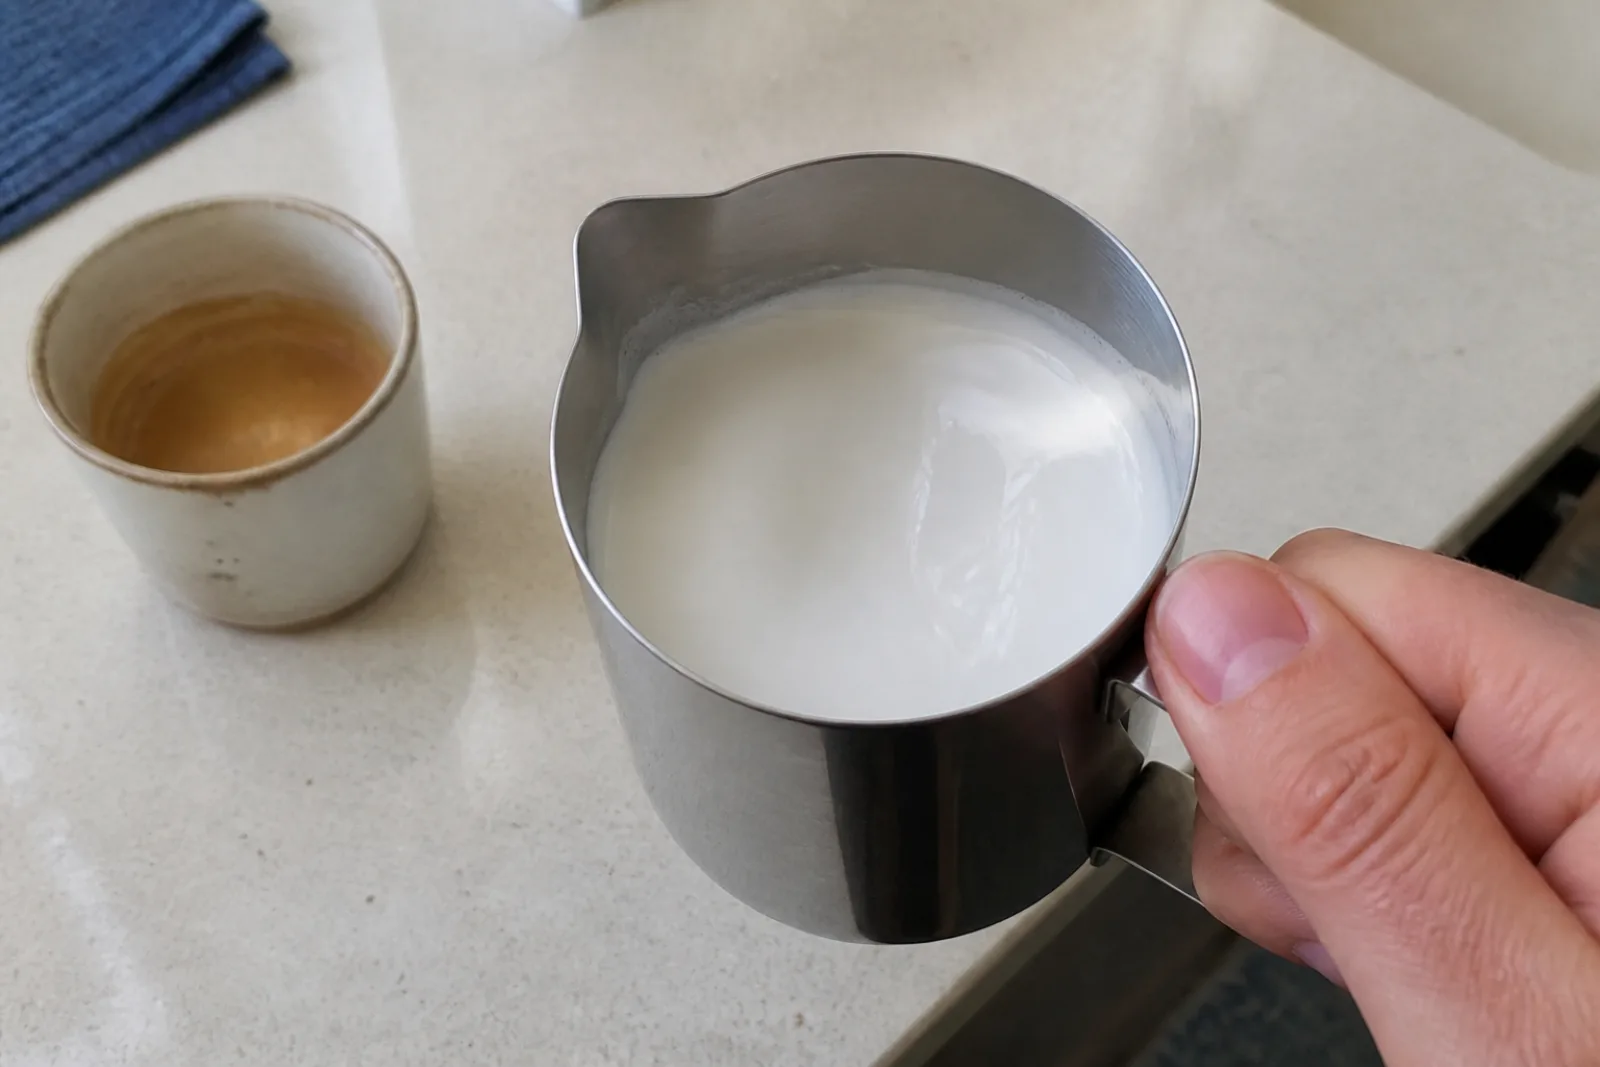
Foam vs microfoam
Regular foam, whether it comes from a French press, a whisk or a poorly used steam wand, has bubbles you can see. It behaves almost like a solid. It sits on top of the milk rather than mixing in, resists the pour, then falls out in a lump. Within a minute, it starts to pop and dry out.
In microfoam, the air is worked through the liquid so finely that it pours like slightly thickened milk. There is no separate foam layer. The whole jug has the same texture.
“Velvety,” “silky” and “glossy” are café words for the same thing: microfoam with bubbles too small to see.
The two jobs of the steam wand
Steaming has two phases, in this order:
- Stretching puts air into the milk. Keep the wand tip near the surface. You should hear short paper-tearing sounds as the milk draws in air. On its own, this produces foam with large, visible bubbles.
- Rolling breaks those bubbles down. Lower the tip slightly and spin the milk in a vortex. The motion breaks up the large bubbles and mixes them through the liquid.
Skipping the rolling phase is the usual reason a home pitcher ends up with foam sitting on milk rather than microfoam, especially on an entry-level espresso machine where the vortex is weaker. The steaming guide covers both phases step by step.
The wet-paint test
You do not need a thermometer or timer to check the texture. Swirl the pitcher and watch the surface. Good microfoam is shiny and reflective, moving as one smooth sheet, like wet paint or melted ice cream. Milk that needs more work looks matte or bubbly, and its visible cap lags behind when you swirl.
If it fails the test, keep swirling. Ten seconds of vigorous swirling can often bring the pitcher together. If the surface still looks dry, the milk is too thick and needs a different fix.
Why microfoam matters for art
Microfoam pours from the spout in a controlled stream. Stiff foam tends to arrive all at once.
Its fine texture is light enough to sit on the crema and make white lines instead of sinking. It also holds together through a pour, while large-bubble foam can collapse or separate before the design is finished.
If your designs keep coming out as blobs or disappearing lines, check the milk first. The troubleshooting guide links each symptom to the milk.
A quick check for your next session
Steam as normal, then hold the pitcher up to the light and swirl before you pour. If you can see individual bubbles, spend longer rolling next time. Note what you saw beside a photo of the pour. After a few sessions, the link between the pitcher texture and the result in the cup is easier to spot. The practice routine has a simple way to keep those notes.